5 Tips for Creating a Photo Gallery Wall
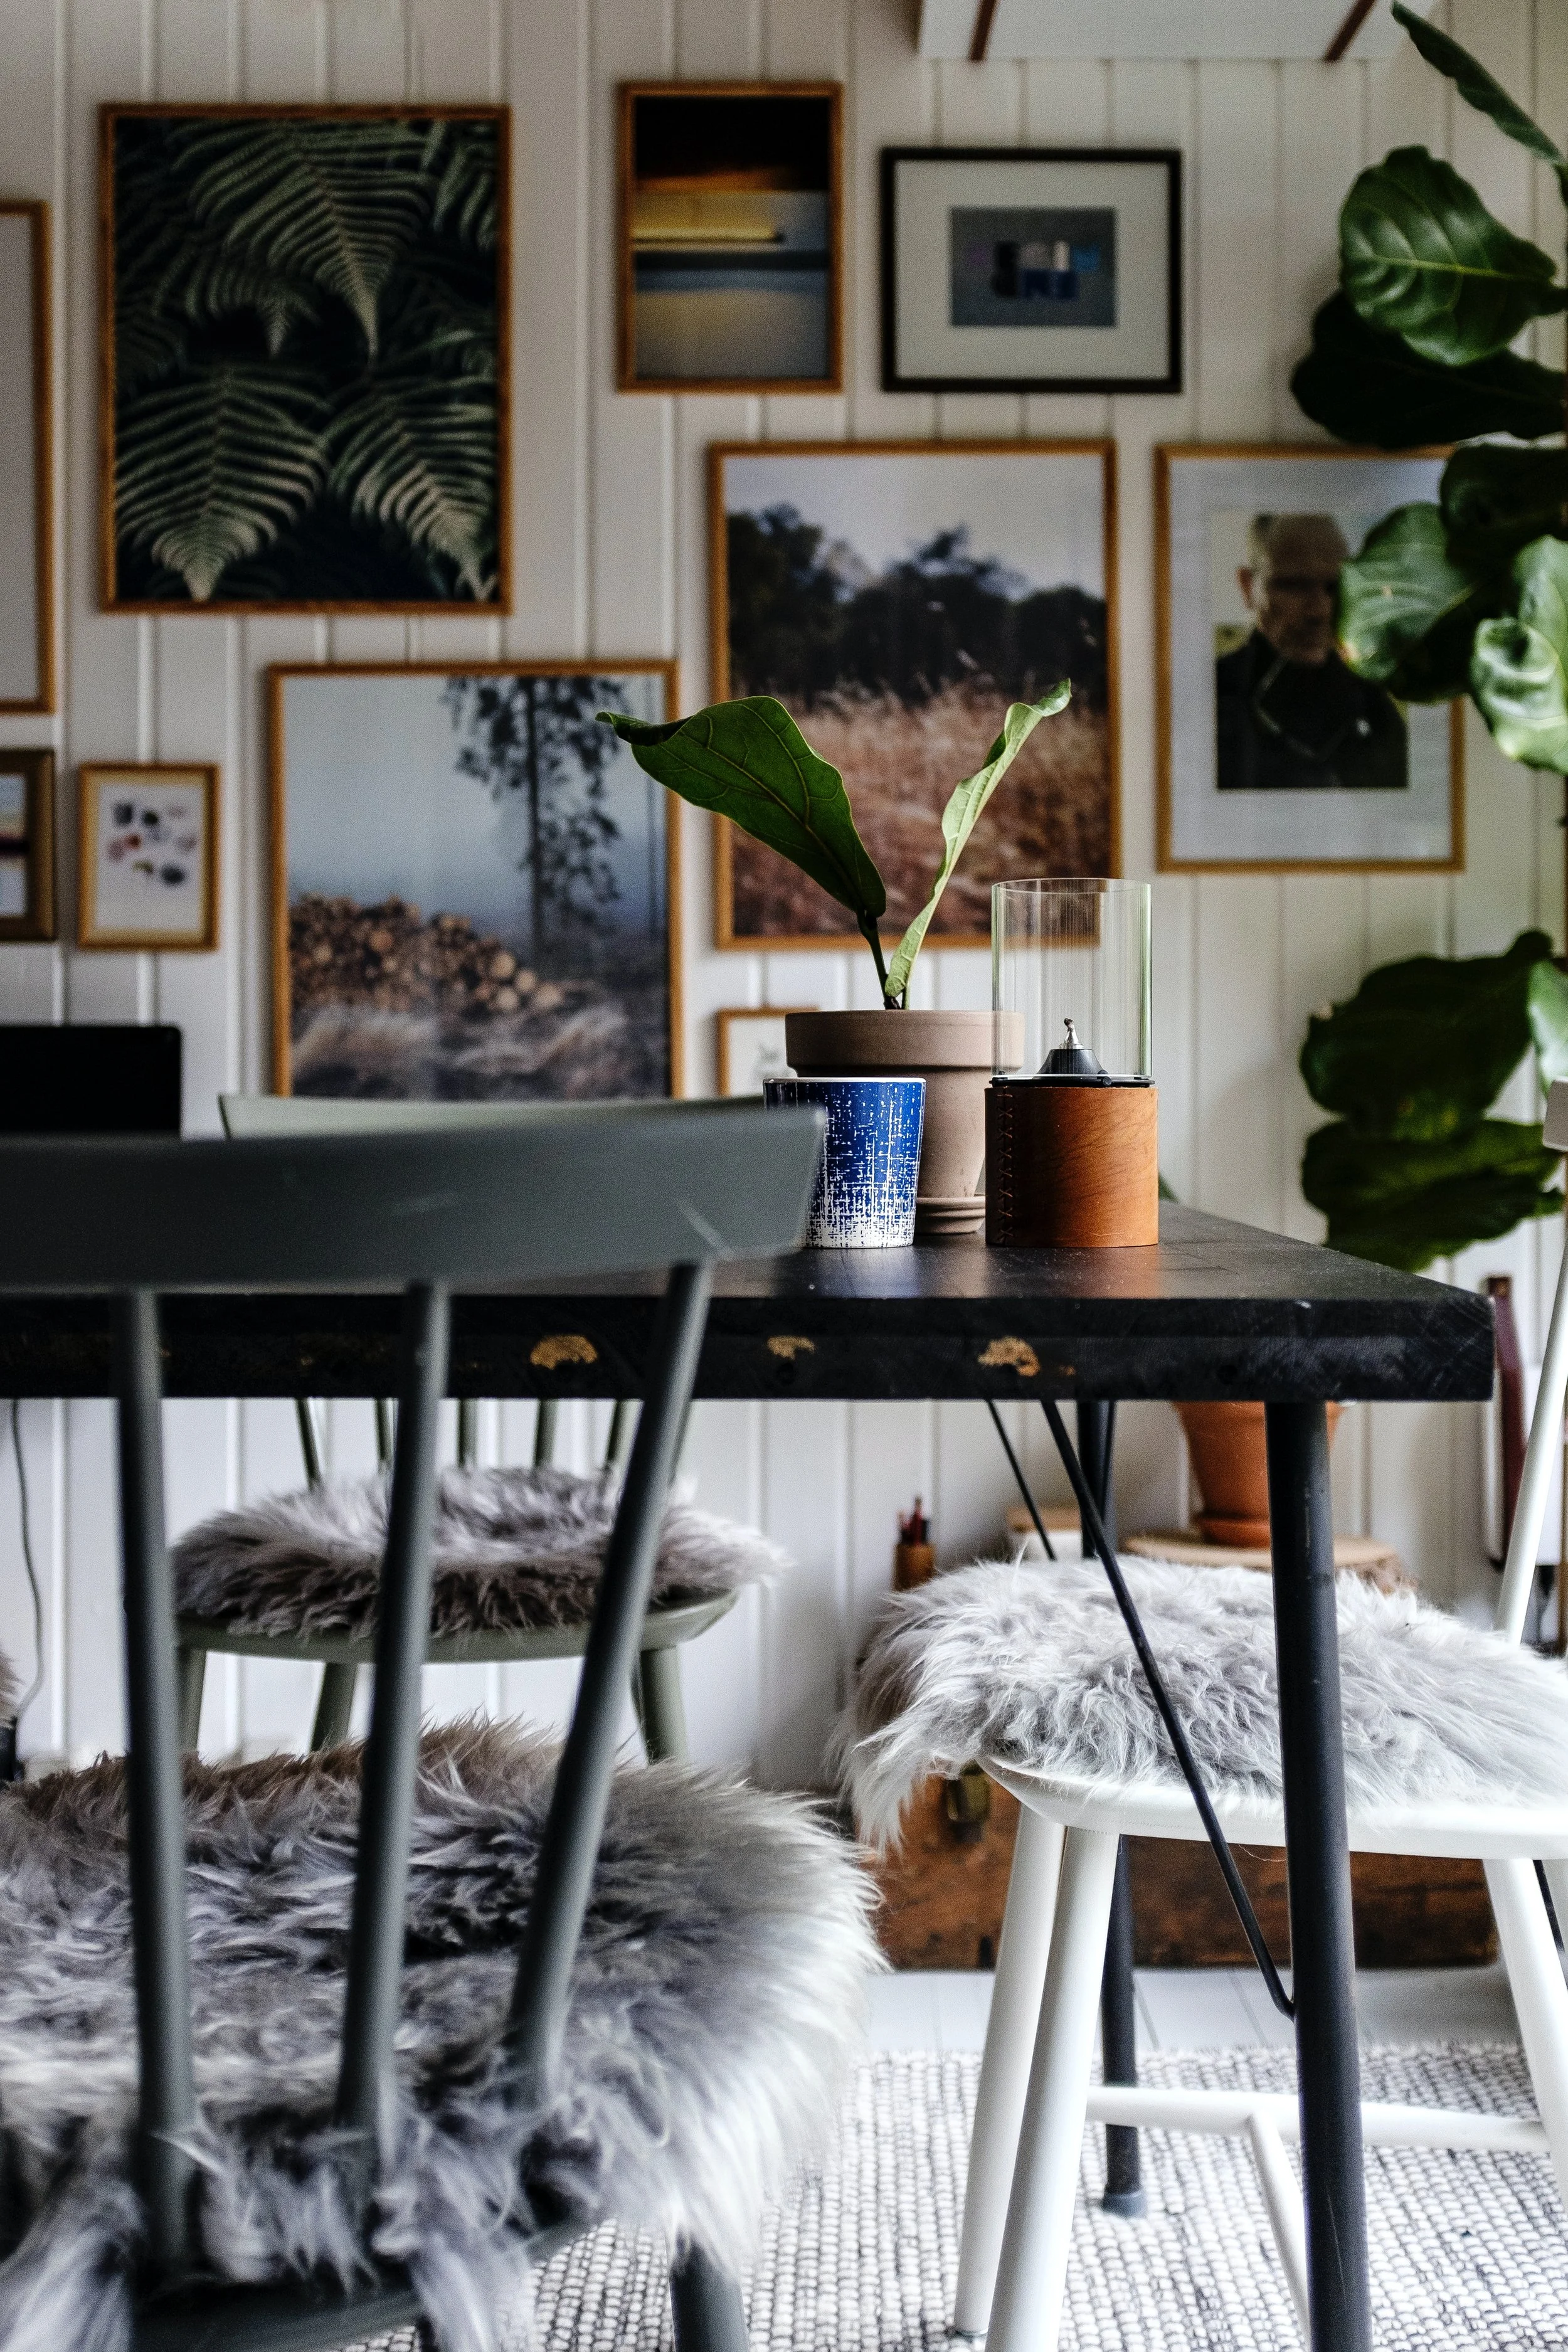
Photo by Lasse Møller on Unsplash
May 28th, 2021 · Taye HardingCreating a gallery wall is a Great way to display your favourite photos. One of the best things about gallery walls is their versatility! You can create an amazing display using just a couple of photos or many! Filling your space perfectly by simply choosing the right print size. And by printing on different mediums, a gallery wall can be easily becoming to suit any style.
If you want to build a gallery wall, here are five tips to help get you started.
Plan Out Your Space
You may already have a space in mind for your gallery wall or, perhaps, you know you want to build one but haven’t found the perfect spot yet. Whether you have an empty wall in your living room or a small space by your front door, planning ahead will save you a lot of time and effort. To help plan this space, ask yourself:
Do you want to add to the wall as time goes on? If you want to expand your gallery wall in the future? Make sure you choose a space that will allow for it.
Would you ever want to swap out photos for new ones? Knowing this will be helpful when choosing your prints; you may want to consider prints that can be shown without creating holes in the walls or damaging the walls paint.
There are plenty of spaces in your home that can accommodate a gallery wall of photos. As we mentioned previously, you can fill a huge wall with many smaller prints or a few large ones. Likewise, you can create a gallery wall in a smaller space by selecting smaller prints.
Decide on Photos:
It’s best to consider picking a theme to help bring the photos in the gallery together as though they are all a part of one large piece of art. The options are never ending, but a few ideas include:
Photos that were all taken at the same photoshoot or place
Wedding photos
Candid photos
Photos that are all taken outdoors
An array of photos from different times, even if they span over decades, brought together by making them all in black and white.
Pick the Perfect Shots
If you can’t decide on a theme or you simply want to display photos that don’t coordinate, you can also make them flow by displaying them all in matching frames. If the photos you’re printing do coordinate, you can get creative with the products you print them on, mixing and matching Canvas Prints with ACM Prints, or whatever else you fall in love with. We offer a plethora of printing options, making it easy to find the perfect prints for your space.
Balance is Key
When planning a gallery wall, there are two things you must imagine:
Your photos are a part of one large art piece.
There's a vertical line going down the middle of your wall.
Now, position your art equally on either side of the line to create visual balance.
If your gallery wall includes different print sizes, position the largest piece of art on the bottom-left of the wall arrangement. If the arrangement is symmetrical, position the main piece in the middle.
Do a Test Run
Once you’re done planing your space and have decided on all the photos and prints you want to build your gallery with, do a trial run to make sure you’re happy with how it looks. Cut craft paper to the size of your artwork and then use painter’s tape to position the paper on the wall where you plan to hang the photos. If you don’t have paper large enough to accomplish this, you can also create a “fake frame” by just using painter’s tape. Leave it on the wall for a bit and revisit it later to ensure you still like your decisions.
Add a splash of YOU to Your Home
No matter if it’s a large collection of photos displayed in your living area or three small prints displayed vertically along a narrow wall in your kitchen, building a gallery wall of photos is a wonderful and unique way to add a personal touch to your home and to show off photos of your favourite people